A search template defines the fields in which a user, with permission to the template, can access. Designing a search template enables you to provide only the necessary search fields while removing unnecessary or sensitive fields.
Additionally, you can configure session list templates. When a search is run, the results are displayed in the search results page, which uses a session list template to define which fields to display. A session list template can assist customer service representatives in finding the most relevant information for customers.
Note: Templates that are used to search for standard session data are of cxImpact type. Templates that are used to search the cxReveal database are cxReveal type.
Later in this process, you will specify search templates for individual users and groups and default session list templates for all cxReveal users. These templates can then be assigned to the cxReveal admin and cxReveal user groups as needed.
Configure cxReveal user and group settings
To configure cxReveal user and group settings, you need to review users who are currently logged in by clicking the Current Users link in the left navigation pane of the Portal Management page.
Note: cxReveal often requires many user accounts. If auto-creation of users is enabled, you might need to periodically review the default groups and permissions assigned to these users.
By default, cxReveal users inherit their permissions from their primary group. In defining permissions for cxReveal users, you should first assign them at the group level and then make adjustments for individual users.
When cxReveal is installed, two user groups are automatically created, each of which has one user:
- REVEALADMIN- default cxReveal administrator account
- CSR- default cxReveal user account
Initially, these two groups have the same permissions, except for the default start page and the admin group's ability to manage user accounts and groups. For each group, you should review the following settings at a minimum:
Creating search and session list templates
Below are the steps for creating either Search or Session templates:
- Draw a sketch of the fields you would like to appear on the desired template. It helps to have a reference when building templates.
- Open Configure Event Manager.
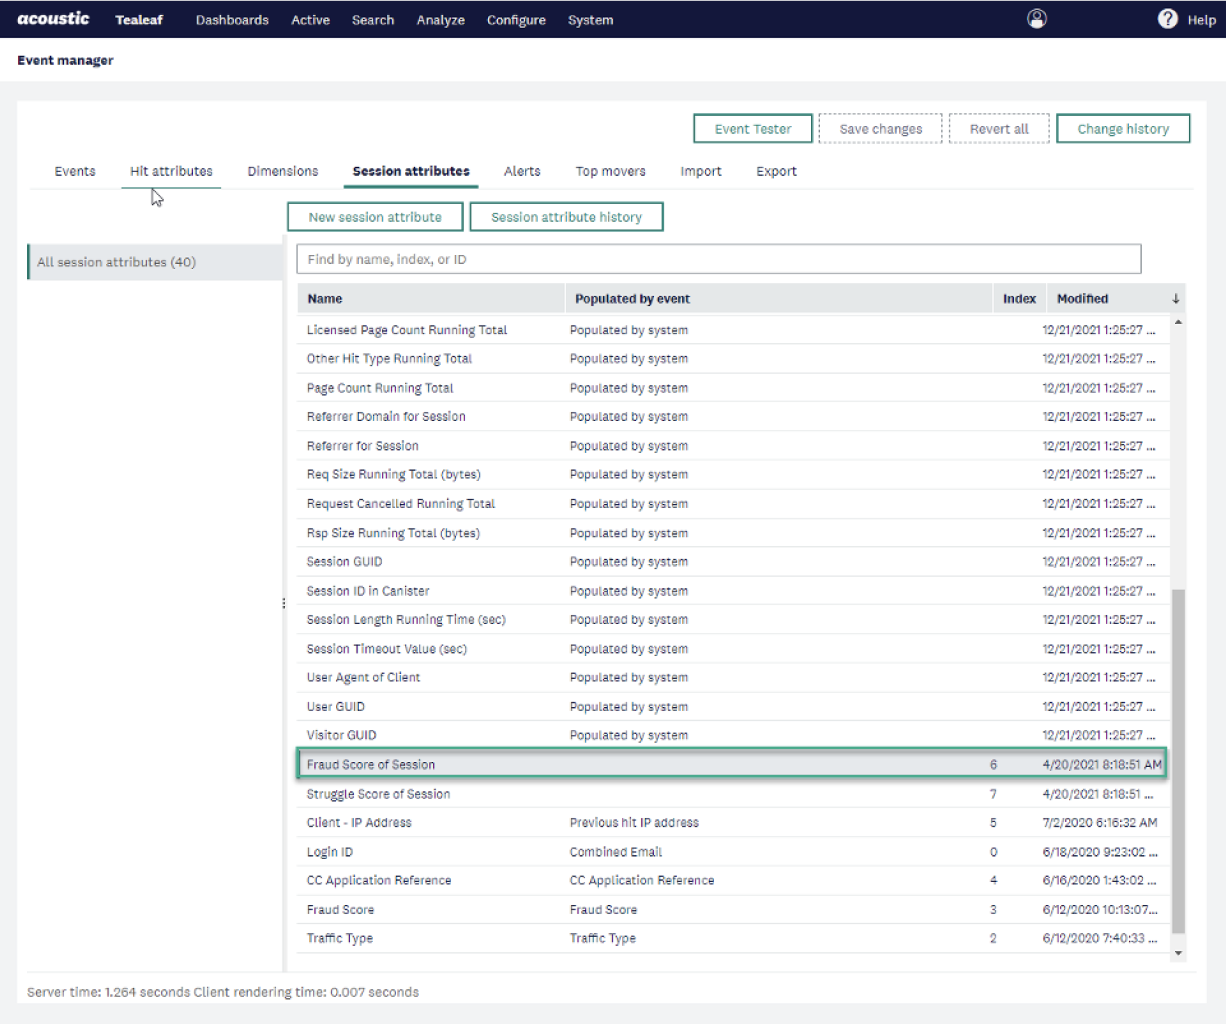
- Select the Session Attributes Tab.
- Review the list to determine if each of the Session Attributes already exist. If one of more the desired fields are not present, go to the Create New Session Attribute for Use in Session Searches, Session Lists, and the Template Fields List, section of this document.
- Click on Configure and select Search Templates.
Note that this is the menu choice for configuration of bot Search and Session List templates.
- Add any missing Session Attributes to the fields.
Now you can begin building templates following the steps below.
- Select the plus (+) sign.
- Assign templates to Groups.
- Login as one of these group users OR have one of your group's users login.
- Validate the template works as you expect.
Creating a cxReveal template
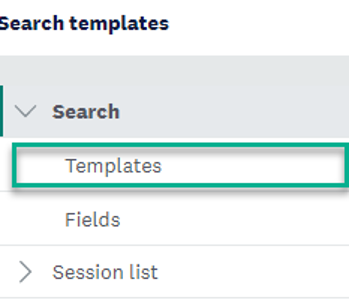
- Click on Templates
- Click on plus (+) sign on the right side of the screen to create a new template.
- Provide a name for the new template.
- Set the search type to active.

- Click the search fields tab to better understand the way fields are used.
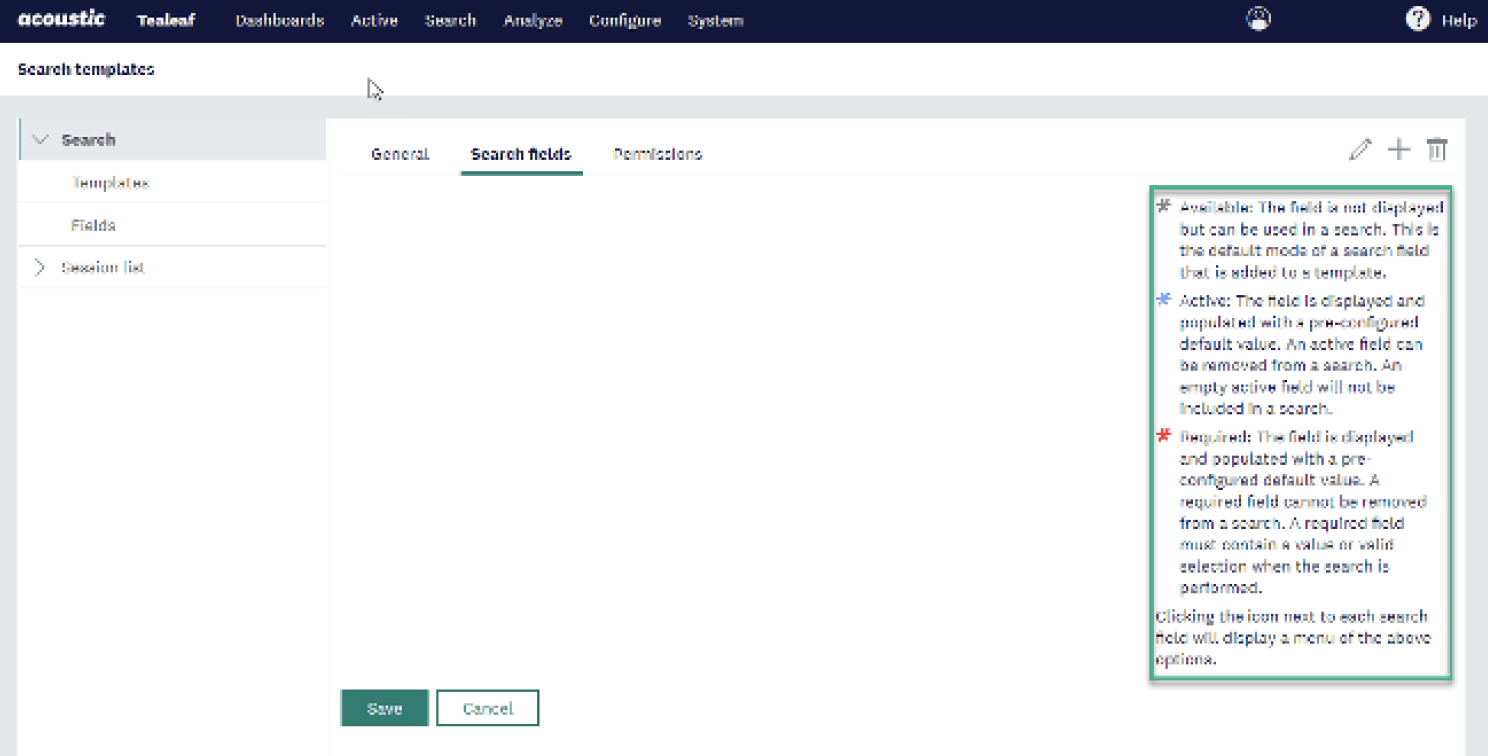
- Click on the plus (+) in the upper right corner to create a new search field.
- Select the desired field in the pop-up and click Select.
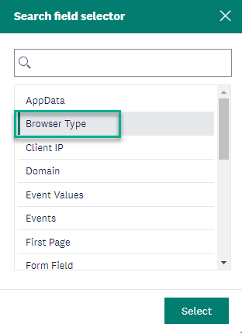
- Repeat step 7 to select more fields. All fields on this template are session attributes. So, if you don’t see the desired field in the list, you will have to create the field. See steps below to create cxReveal fields.
Now that you have selected all the fields you want on the search template, drag-and-drop the fields in the order you want the fields to appear on the search templates. Click Save to save the template.
Creating cxReveal fields:
Follow the steps below to create a new search field.
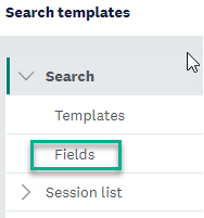
- Click Configure, then select Configure Search Templates.
- Select Fields.
- Click on the plus (+) in the upper right corner to add a field to the list.
- Fill in the fields in the pop-up.
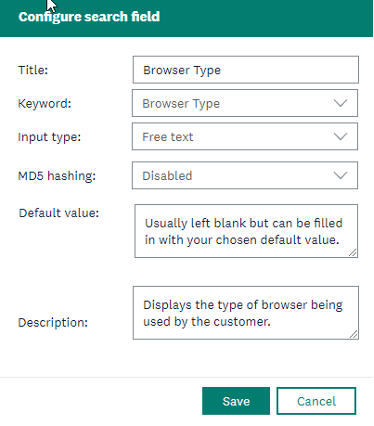
- Title the field.
- Select the session attribute from the drop-down for Keyword.
- Choose the desired Input Type from the drop-down.
- Enable MD% Hashing, if desired. Often, this field is left disabled.
- Enter a default value to be displayed if there is no value in a Search or Session List Template.
- Click Save to save the setting for this field.
Repeat steps 2 through 4 to create more fields. If your desired field is not already in the list, you will need to create a new Session Attribute. See, Adding new session attributes for use into the template fields list.
Select a cxReveal template to modify
To select a cxReveal search template to modify, complete the following steps.
- Select Configure > Search Templates.
- Select the type of search template to modify.
By default, there is no cxReveal template. If you need to build one, see Creating a cxReveal template.
Adding new session attributes to the template fields list:
This section describes how to create a Session Attribute for use in template configuration. It assumes that the desired Session attribute is already created but not on the list field in Template Configuration.
- Click configure and select Event Manager.
- Click the Session Attributes Tab and select one of the existing Session Attributes. If the desired session attribute does not exist in the list, you will have to create a new Session Attribute.
- Right-click the field Name of interest and edit the following pop-up to select the populated by source.

Repeat steps 2 through 3 to add more fields to the template selection list. Click Save Changes and the Commit button to save your field definitions. Return to the Template and add the new Session Attribute fields as before in the Creating a cxReveal Template section.
Create new session attribute for use in session searches, session lists, and the template fields list:
These instructions assume that there is an event that can populate a new Session Attribute:
- Click on Configure, then select Event Manager.
- Select the Session Attributes tab.
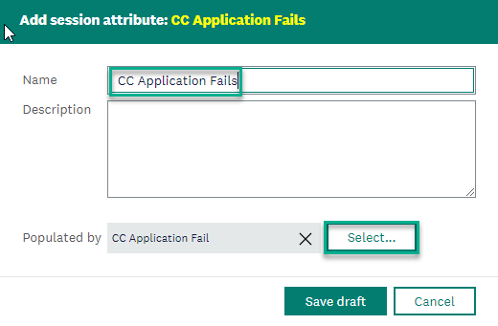
- Click on the New session attribute button.

- Complete the pop-up form with the name of the session attribute.
- Then select the event to populate the session attribute from the drop-down menu associated with the Select button. Save the draft.
Repeat steps 2 through 4 to add more session attribute fields to the template selection list. Click on Save Changes button and the Commit button to save your field definitions. Return to the Template and add the new fields as before in the Creating a cxReveal template section.