Use the forms composer to create customized and branded opt-in and opt-out forms, progressive forms and Forward to a Friend forms. Database contacts use these forms to opt in to your emails/landing page site. After you access the web form feature in Acoustic Campaign, you can create a web form on a landing page, manage the form properties, and then customize your form.
Single opt-in form
Use standard web forms to create opt-in forms.
- In the Campaign menu, go to Forms and click the Create new form button.
- Enter the form name, select the Standard type form and add tags (optional).
- Click Create.
- Add a single opt-in database as a contact source.
- Add an email block to your form. In the Settings tab, select the database field you want the new email contacts to be added. Click the toggle to make the field required.
- Add content blocks and other field blocks (optional) and complete their settings.
- Click Preview to check how your form looks on different screen sizes. Tweak the design of your form until you are happy with the result.
- Select the Confirmation tab above the form composer to edit the confirmation page.
- Design the page by adding content blocks from the Design tab and changing global styles.
Tip: Make sure your confirmation page design is aligned with the form design by the same colors, fonts, and other elements you see fit.
- Click Review and publish. If errors occur, make necessary changes and try again.
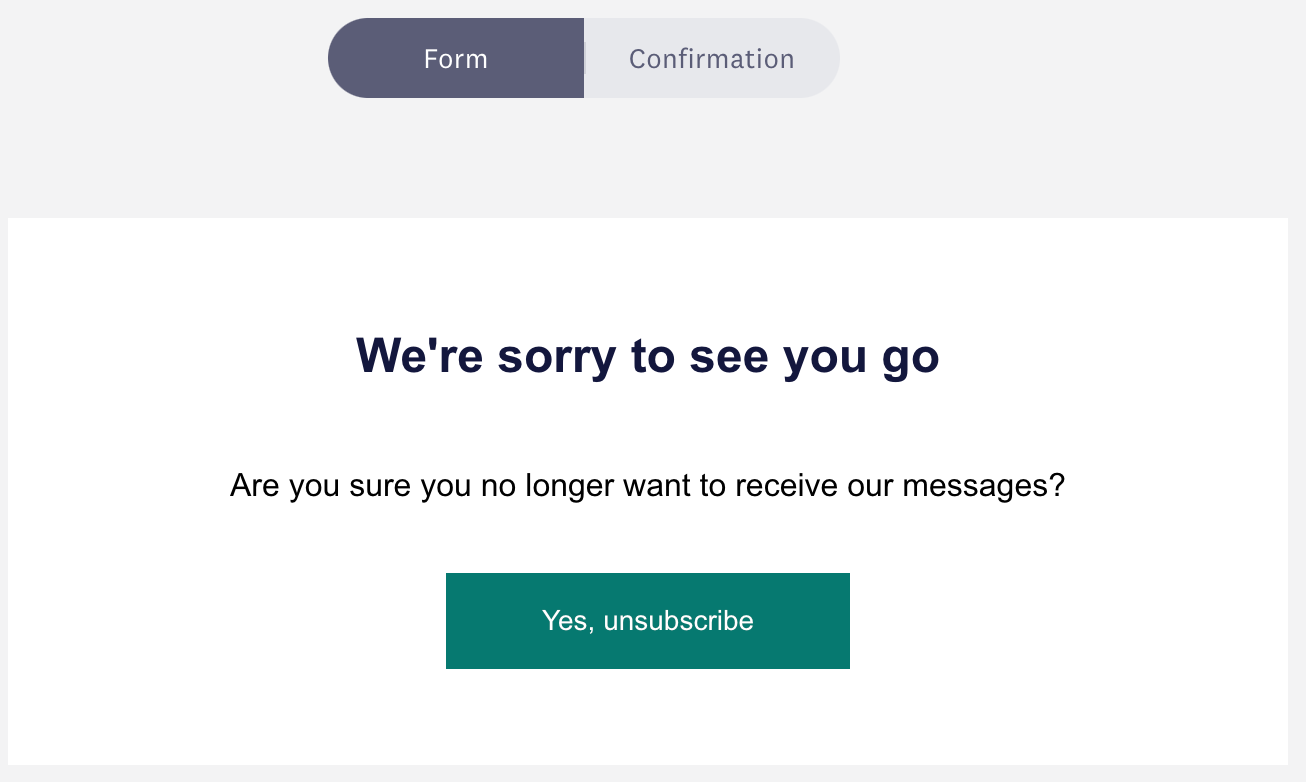
Opt-out form
Create and customize opt-out forms so contacts who no longer want to subscribe to your emails are opted out of your emails.
- In the Campaign menu, go to Forms and click the Create new form button.
- Enter the form name, select the Opt-out type form and add tags (optional).
- Click Create.
- Edit the blocks available in the sample version of the form (text and call to action) and/or add other blocks from the composer.
Note: Opt-out forms can only contain one email form block and content blocks. Other form blocks are not available.
- Go to the Confirmation page tab in the composer and design your confirmation page by editing or adding content blocks.
Snooze feature
Snooze allows your contacts to temporarily pause subscriptions for a specific amount of time. This feature is an alternative to opt-outs, as it gives contacts the option to temporarily stop receiving emails, instead of permanently opting-out which will reduce your opt-out rate. To use the snooze feature, create a standard form and add a Snooze form block.
Note: Snooze is an email status field managed at the system level that tracks status by recipient ID, not a contact’s email address. Snoozed contacts are not added to a suppression list. It is important to know this information for non-email keyed and flexible databases.
Preference center
Through preference centers, also known as the edit preferences forms, contacts can update their information in your database: profile information, list preferences, email frequency, and other elements that might change in their customer lifecycle.
Use a standard form to create a preference center.
Best practice
While it is possible to create one standard form that can function as both a preference center and an opt-in form, the best practice is to create two distinct forms. Creating a simple opt-in form with minimal information required will increase the subscription rate while a separate, more in-depth preference form may be used for later communications. The more information that you ask for, the higher the risk of churn, so keeping the optimal amount of form fields and required information is key.
Note: If there are duplicates already in your Campaign database and contact matching finds more than one, the system finds the contact with the lowest recipient ID. This is not necessarily the oldest because the duplication might have been imported at the same time/same opt-in date/time.