Acoustic Tealeaf helps you capture and manage each visitor interaction on your website or mobile application. You can replay the visitor sessions to analyze and understand customer interactions and experiences. Getting started with Tealeaf analytics is quick and easy.
Create an application in Tealeaf
You must have an Administrator user role assigned to you to add and configure your website and application with Tealeaf.
- Log into Acoustic Tealeaf as an Administrator and click your User profile from the menu bar and select Admin.
- On the Admin page, click the Applications tab.
- Click the "+" sign and create an application.
Select False as Disable data collection to collect data for this application. If you select True, customer data is not collected.
Your application is added, and an Application key is generated.
Hover over image to play animation 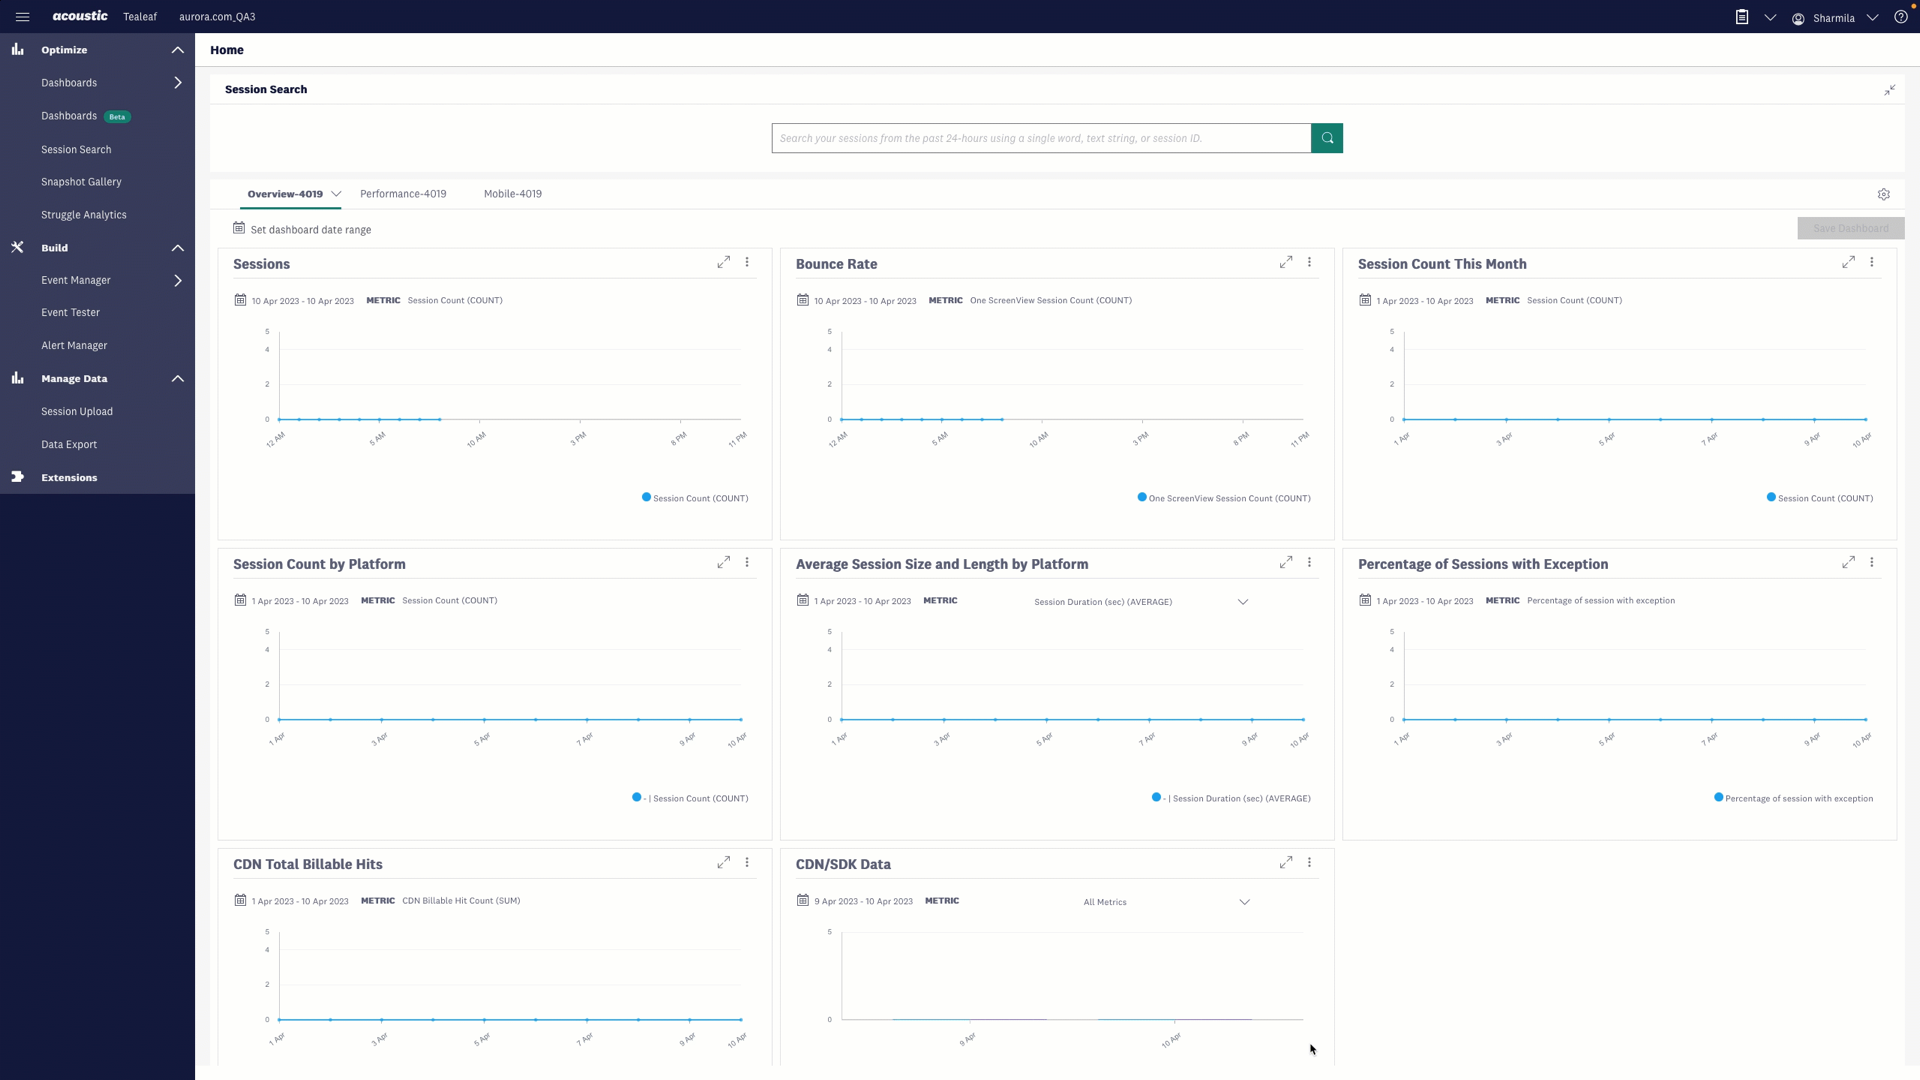
Add SDK to your iOS application
Add our Tealeaf SDKs to capture data from your application and get unprecedented insight into the performance of your application. Our SDKs require simple implementation and have minimal impact on your application's performance.
- Find your application from the Admin > Applications tab and click SDK.
- On the Add SDK page, click the iOS tab.
- Select how you would like to add the Tealeaf SDK to your application. You can use Swift package or CocoaPods.
Swift package
To add our Tealeaf iOS SDK as a Swift Package in XCode, complete the following steps:
- Go to File -> Add Packages.
- In the Search or Enter Package URL field, enter the following URLs in the Search or Enter package URL field.
CocoaPods
For CocoaPods, complete the following steps:
- Install CocoaPods and create a Podfile in your app's XCode project directory.Learn more
- Copy the script provided to add the SDK and add it to the app target of your Podfile and run the pod install command.
Hover over image to play animation
Initialize the SDK from your application
- Copy the script provided in the Initialize the SDK section and add it to your app delegate's application handler. It is customized with the Application key generated when you added the application in the previous steps and the base URL for your application.
- Set the UIApplication class to track UI control events.
- In your Swift application, open the AppDelegate.swift file and comment out the following:
- For Swift: @UIApplicationMain line
- For Swift UI: @main
- Create a HelloSwiftApplication.swift file and add the code provided to override the sendAction and sendEvent methods.
- Create main.swift file and add the code provided.
- Open the Info.plist file and add the provided code.
Note: For Swift UI, you must create the info.plist file as described in an earlier step.
Hover over image to play animation
Replay a visitor session
Replay provides a multi-dimensional view of visitor sessions. Replaying a session allows you to watch the session exactly as a user experienced it. Watch a session and see where a user repeatedly clicked and didn't get the expected result or see where a user entered a promo code during checkout but got an error.
- From the main navigation menu, click Session search.
- Find the session you want to replay by using keywords or selecting categories.
- From the list of sessions displayed, click the Play button next to the session you want to replay.
Hover over image to play animation