You can select a content management system (CMS) to use with Acoustic Personalization to be able to use external content, such as images, in your personalization.
For details about how to configure a CMS for Acoustic Personalization, see CMS configuration.
For details about how to use Acoustic Content as a CMS for Acoustic Personalization, see Acoustic Content configuration.
You can either select a previously configured CMS or register a new one. You can register a CMS using two ways.
- You can register a CMS when you register a new channel.
- You can also register a CMS directly, without creating a new channel.
Access the CMS page
You can add, edit or delete a content management system (CMS) used in Acoustic Personalization. You can also update the name of the content management system and its type.
To access the CMS page, complete the steps
- Log in to Acoustic Cloud
- Using the menu, go to Personalization > Settings > Implementation Status.
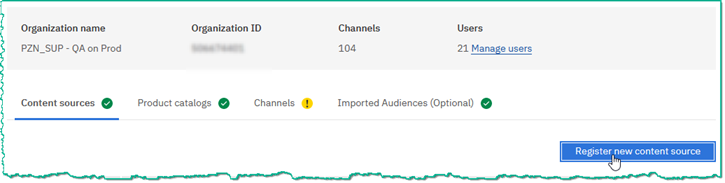
- In the Implementation Status page, click Content sources tab. The content management systems that are registered within your organization are displayed on the page.
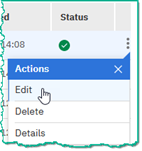
- To view detailed information about a content source, click its Actions menu and select Details.
Register a CMS
- Go to Personalization > Settings > Implementation Status.
- In the Implementation Status page, click Content sources tab, and then click Register new content source.
- Type the name for the new CMS.
CMS name should not have these characters: ~ ` ! @ # $ %^ & * ( ) + = < > , . \ / | { } [ ] - Select the source CMS from the list.
- If you are using Acoustic Content:
- Select Acoustic Content from the list.
- Enter the API URL of the Acoustic Content repository in the API URL. The API URL must begin with HTTPS.
For more information about how to get the API URL, see Connect to Acoustic Content. - Click Validate URL to verify a successful connection with Acoustic Content.
- If you are not using Acoustic Content, select Other and provide the details required to connect to the CMS.
- If you are using Acoustic Content:
- Click Register.
The new CMS is added to the list and is available for use in Acoustic Personalization.
Edit a CMS
To edit a content source registered in Personalization, perform the following steps.
- Go to Personalization > Settings > Implementation Status.
- In the Implementation Status page, click Content sources tab. The content management systems that are registered within your organization are displayed on the page.
- Click the Actions menu for the content source and select Edit.
- In the Edit CMS window, you can edit the CMS name and content management system. If you select Acoustic Content as your CMS, then you can also update the API URL of the CMS.
- Click Save.
Delete a CMS
To delete the CMS, complete these steps:
- Go to Personalization > Settings > Implementation Status.
- In the Implementation Status page, click Content sources tab. The content management systems that are registered within your organization are displayed on the page.
- Click the Actions menu for the content source and select Delete.
- Confirmation pop-up window opens. To delete, click Delete. The CMS is deleted.
Note
You cannot update or delete a content management system that is currently being used in any of channel tenants.