You need to create or edit a Salesforce user profile to activate the synchronization.
To create or edit the user profile, you can read the following procedure to define the minimum permissions required for accessing the synchronizing data.
Setup > Use the Quick Find search box to locate "Profiles."
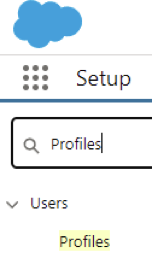
In the list of profiles, select "R" to see the "Read Only" profile:
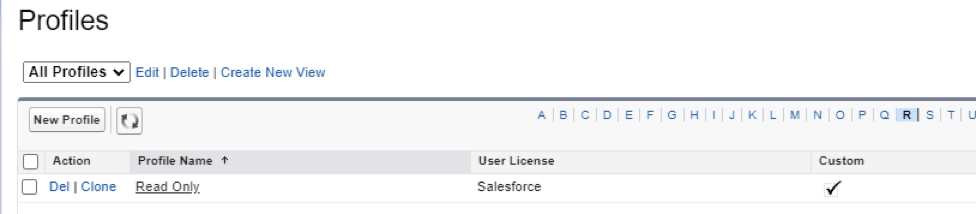
The Read Only profile provides the minimum number of permissions available in the standard Salesforce Licensed profiles, so creating a new integration profile is a good starting point. You can use the Read Only profile as a template to create the integration profile.
Open the profile and see the details page:
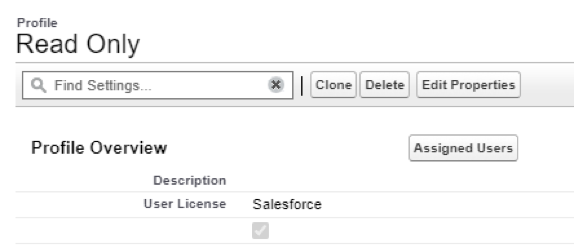
Click "Clone" to create a new profile based on the Read Only profile:
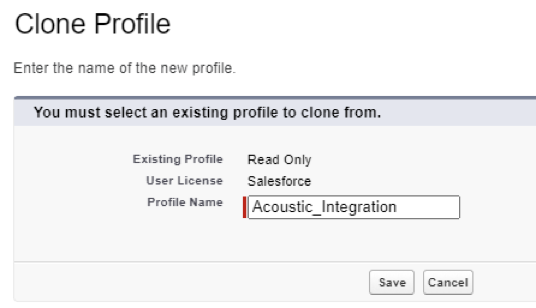
Enter a Profile Name and click Save.
The detail page of the new profile is displayed. Scroll to System > System Permissions.

Ensure the API Enabled option is selected.
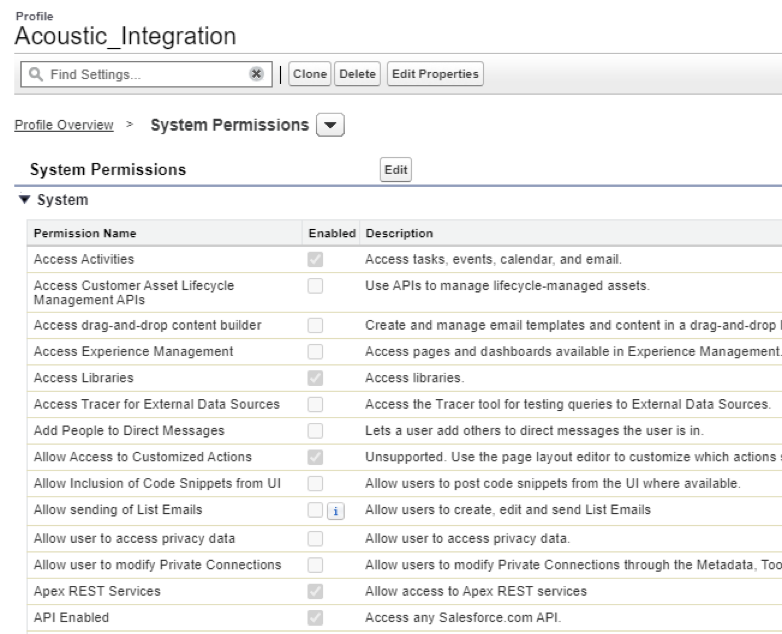
This option grants access to the Salesforce APIs. The user assigned to this profile can complete API operations within Salesforce through the web Services used by Acoustic Integration.
Check the "View All Data" permission.
|
|
If the permission is not enabled, |
|
|
click Edit for the System permissions |
 |
check the box to enable it |
 |
and save the permissions. |
 |
Save the permission change confirmation. |


"View All Data" allows the integration to retrieve data owned by all users defined in the Salesforce environment. When you check this option, other required options, such as View Setup and Configuration, View All Data, and the read permission for all objects, are enabled automatically.
Note: Do not clear any of these options because it causes the View All Data option to be disabled.
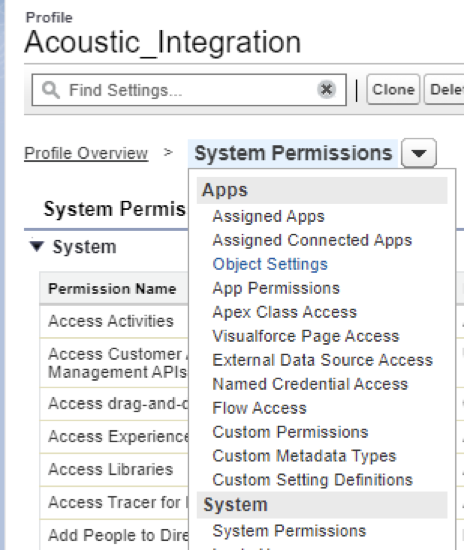
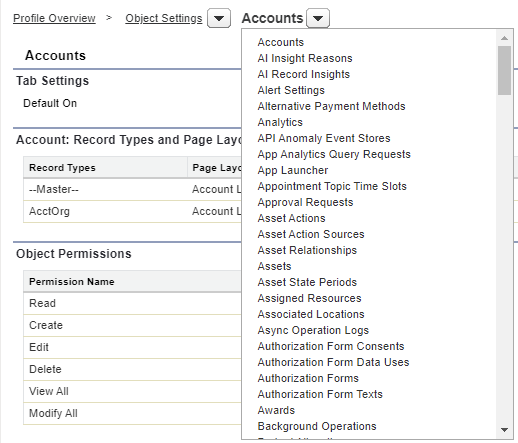
Switch to the Object settings for the Profile Overview
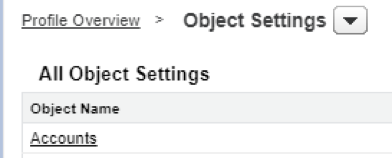
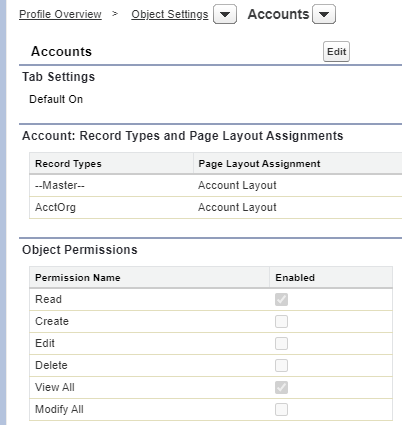
Starting with the standard Account object:
Ensure that View All is selected.
Then, use the object dropdown to check View All for the remaining objects the Acoustic Integration needs. Include the Create and Edit permissions for:
- Campaigns,
- Contacts,
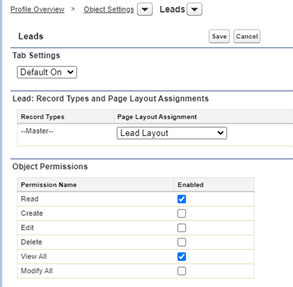
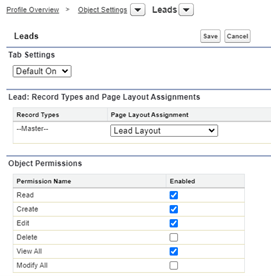
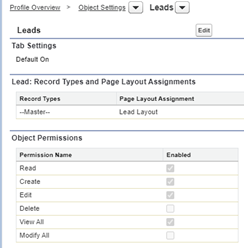
- Leads,
- Email Links,
- Silverpop\Acoustic Campaign Email Activities,
- Silverpop\Acoustic Campaign Email Campaign Activities,
- Silverpop\Acoustic Campaign Email Campaign.
You will need to click on "Edit" for the remaining objects to enable Create and Edit permissions since it was cloned from a "Read Only" profile:
Note: If you want to grant more permissions to the user (for example, if you intend to log in with the user through the UI and delete some records), you can do it.
After completing this, you can create an integration user and assign it to the new profile.
The user will be set in the credentials tab in Acoustic Campaign.
Most field mapping issues during the integration setup are related to profile permission restrictions. After the setup - profile permission changes can cause record sync or Campaign feature failures.
Standard Profile Considerations
If a customized install or update option was used and the Send Acoustic Email feature appears not to work for different Salesforce users, review the profile’s “System permissions."
Besides having access to the Acoustic CRMI package and components, the profile may also need the same permission the integration user requires in the credentials tab - to View Setup and Configuration.
In testing many profile variations needed for our features to work, our developers have found giving the affected profile the View Setup and Configuration permission resolves the issue.